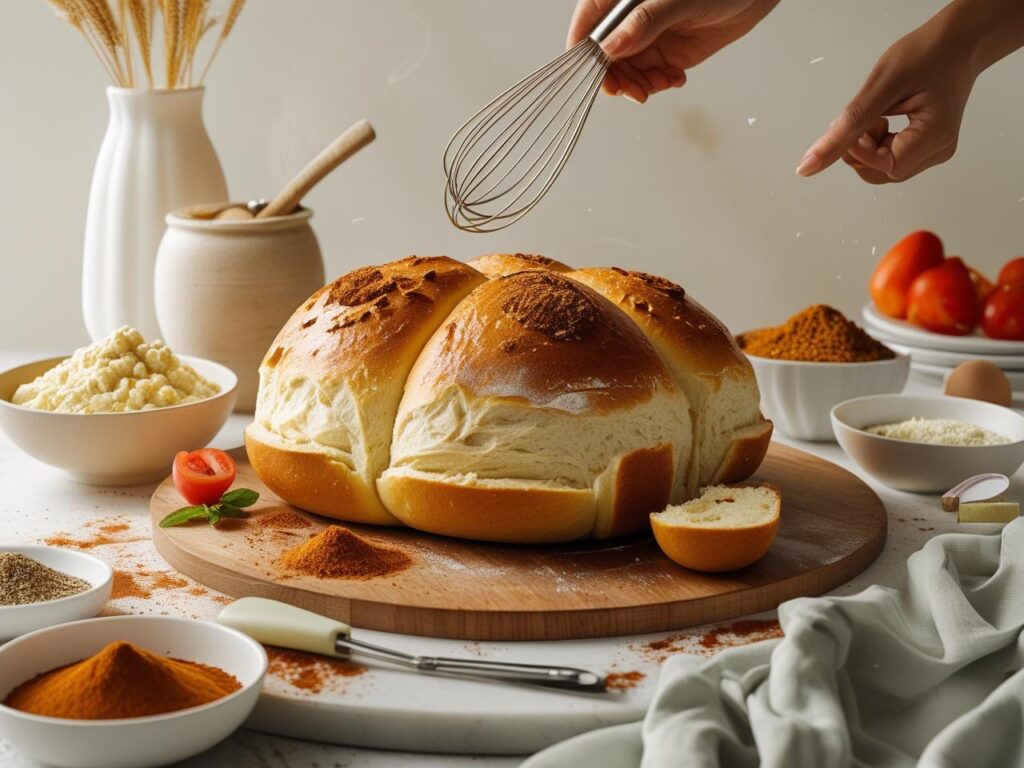
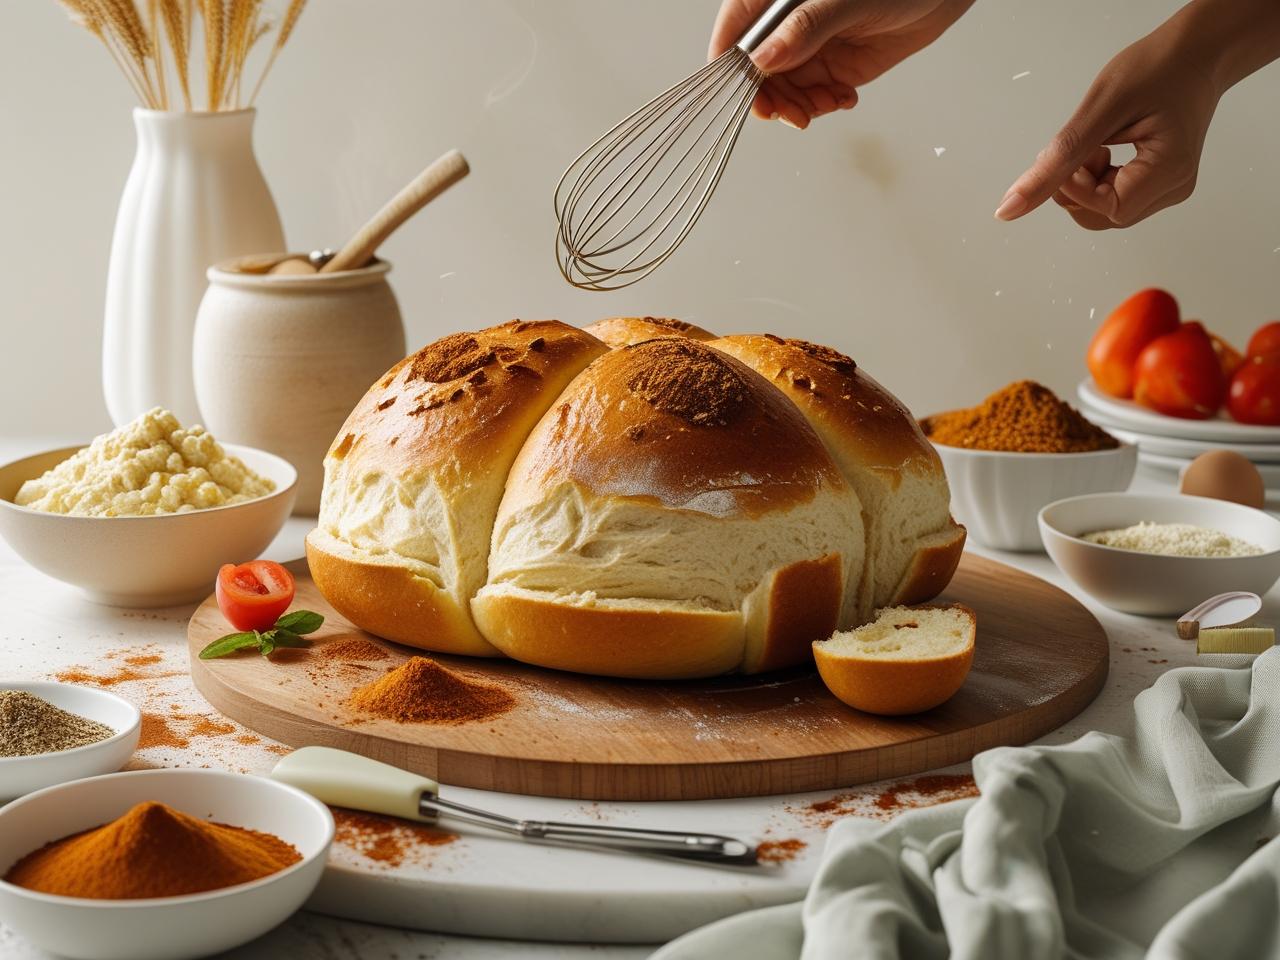
There’s nothing quite like the soft, slightly sweet aroma of freshly baked bread filling your kitchen. And when it comes to versatility, homemade Bun Bread is truly a winner! Perfect for sandwiches, burgers, or simply enjoyed on its own with butter, these buns are incredibly soft, airy, and far more delicious than anything you’ll buy from a store. Don’t be intimidated by baking; this recipe is designed to guide you step-by-step to achieve perfectly fluffy results every time. Let’s get baking!

Recipe: Soft & Fluffy Homemade Bun Bread
Basic Info:
- Yields: 10-12 medium buns
- Prep Time: 25 minutes
- Rise Time (First Proof): 1-1.5 hours
- Rise Time (Second Proof): 30-45 minutes
- Cook Time: 15-20 minutes
- Total Time: Approximately 2.5 – 3 hours
Ingredients:
- Warm Milk: 1 cup (240ml), lukewarm (around 105-115°F / 40-46°C). This is crucial for activating the yeast.
- Active Dry Yeast: 2 ¼ teaspoons (1 standard packet).
- Granulated Sugar: ¼ cup (50g), plus 1 teaspoon for yeast.
- All-Purpose Flour: 3 ½ – 4 cups (420-480g), spooned and leveled, plus more for dusting.
- Salt: 1 teaspoon.
- Large Egg: 1, at room temperature.
- Unsalted Butter: ¼ cup (56g), melted and cooled.
For Egg Wash (Optional, for Golden Crust):
- Large Egg: 1.
- Water or Milk: 1 tablespoon.
Equipment:
- Large mixing bowl
- Measuring cups and spoons
- Whisk
- Rubber spatula or wooden spoon
- Stand mixer with dough hook (highly recommended for kneading) OR strong hands for kneading
- Clean kitchen towel or plastic wrap
- Baking sheet(s)
- Parchment paper
- Pastry brush (for egg wash)
Step-by-Step Professional Making Process:
Step 1: Activate the Yeast
- Combine: In your large mixing bowl, combine the warm milk (ensure it’s not too hot, or it will kill the yeast), 1 teaspoon of granulated sugar, and the active dry yeast.
- Rest: Stir gently and let it sit for 5-10 minutes. You should see foam or bubbles forming on the surface; this indicates the yeast is active and alive. If not, your yeast might be old, or your milk was too hot/cold, and you’ll need to start again with new yeast.
Step 2: Prepare the Dough
- Add Wet Ingredients: To the activated yeast mixture, add the remaining ¼ cup of granulated sugar, the room temperature egg, and the melted and cooled butter. Whisk everything together until well combined.
- Add Dry Ingredients: Gradually add 3 ½ cups of the all-purpose flour and the salt to the wet mixture.
- Mix: If using a stand mixer, attach the dough hook and mix on low speed until a shaggy dough forms. If mixing by hand, stir with a sturdy wooden spoon or rubber spatula.
Step 3: Knead the Dough
- Kneading (Stand Mixer): Increase the mixer speed to medium-low and knead for 7-10 minutes. The dough should become smooth, elastic, and pull away from the sides of the bowl. If it’s too sticky, add the remaining flour (up to ½ cup) a tablespoon at a time until it’s pliable but still soft.
- Kneading (By Hand): Turn the dough out onto a lightly floured surface. Knead for 10-15 minutes, pushing the dough away from you with the heels of your hands, then folding it back towards you. Continue until the dough is smooth, elastic, and springs back when gently poked. Add minimal flour if absolutely necessary to prevent sticking.
- Image Idea: A close-up of the dough being kneaded in a stand mixer with the dough hook, showing its developing elasticity, or hands expertly kneading dough on a floured surface.
Step 4: First Rise (Proofing)
- Prepare for Rise: Lightly grease the same large mixing bowl with a little oil. Place the dough ball in the bowl, turning it once to coat all sides.
- Cover & Rise: Cover the bowl tightly with plastic wrap or a clean kitchen towel. Place it in a warm, draft-free place (e.g., a slightly warm oven that’s turned off, or near a sunny window).
- Rise Time: Let the dough rise for 1 to 1.5 hours, or until it has doubled in size. The exact time depends on the warmth of your kitchen.
- Image Idea: The dough in a greased bowl, covered with plastic wrap, showing its size before and after rising (a side-by-side or time-lapse image).
Step 5: Shape the Buns
- Gently Deflate: Once the dough has doubled, gently punch it down to release the air.
- Divide Dough: Turn the dough out onto a lightly floured surface. Divide the dough into 10-12 equal pieces. For precise sizes, you can weigh them (around 75-80g each).
- Shape Buns: Take each piece and flatten it slightly. Then, pull the edges into the center and pinch them together at the bottom to form a smooth, tight ball. Roll it gently between your palm and the counter to create a perfect round shape.
- Arrange on Tray: Line a baking sheet with parchment paper. Arrange the shaped buns on the sheet, leaving about 2 inches of space between them as they will expand.
- Image Idea: A series of small images showing the shaping process: dough portioned, flattened, edges pulled in, and then rolled into a neat ball. Another image showing the raw buns arranged on a baking sheet.
Step 6: Second Rise (Proofing)
- Cover & Rise: Loosely cover the shaped buns on the baking sheet with plastic wrap or a clean kitchen towel.
- Rise Time: Let them rise again in a warm, draft-free place for 30-45 minutes, or until they are visibly puffy and nearly doubled in size. They should look soft and pillowy.
- Preheat Oven: Towards the end of the second rise, preheat your oven to 375°F (190°C).
- Image Idea: The shaped buns on the baking sheet, covered, showing their size before and after the second rise.
Step 7: Egg Wash & Bake
- Prepare Egg Wash (Optional): In a small bowl, whisk together 1 egg and 1 tablespoon of water or milk.
- Apply Egg Wash: Gently brush the tops of the risen buns with the egg wash. This will give them a beautiful golden-brown, shiny crust.
- Bake: Bake in the preheated oven for 15-20 minutes, or until the buns are deep golden brown on top and sound hollow when tapped on the bottom.
- Cool: Once baked, remove the buns from the oven and immediately transfer them to a wire rack to cool completely. Cooling on a rack prevents the bottoms from getting soggy.
- Image Idea: A close-up of buns being brushed with egg wash. Another image of the golden-brown baked buns just out of the oven, possibly on the wire rack.
Step 8: Serve & Enjoy!
- Serve: Once cooled, slice them open and fill them with your favorite sandwich ingredients, burger patties, or simply enjoy them warm with butter.
- Image Idea: A hero shot of a perfectly sliced bun, perhaps with a simple filling like butter or a burger patty. A stack of golden, finished buns.
Professional Tips for Perfect Bun Bread:
- Accurate Temperature for Yeast: Ensure your milk is lukewarm (not hot or cold) for yeast activation. A thermometer is your best friend here.
- Don’t Rush the Rise: Rising time is crucial. Allow the dough to double in size for both proofs. A warm, humid environment helps.
- Proper Kneading: Thorough kneading develops the gluten, which gives the buns their soft, chewy texture. Don’t cut this step short.
- Measure Flour Correctly: Always spoon flour into your measuring cup and level it off. Scooping directly can compact the flour, adding too much and making your dough dry.
- Handle Dough Gently: After the first rise, gently deflate and handle the dough. This helps maintain its airy texture.
- Even Shaping: Try to make all your buns roughly the same size so they bake evenly.
- Cool Completely: While tempting, wait for the buns to cool completely on a wire rack before storing or slicing to prevent sogginess and allow the texture to fully set.
- Storage: Store cooled buns in an airtight container at room temperature for 2-3 days, or freeze for up to 3 months. To reheat from frozen, thaw at room temperature, then warm in a preheated oven (350°F/175°C) for a few minutes.
