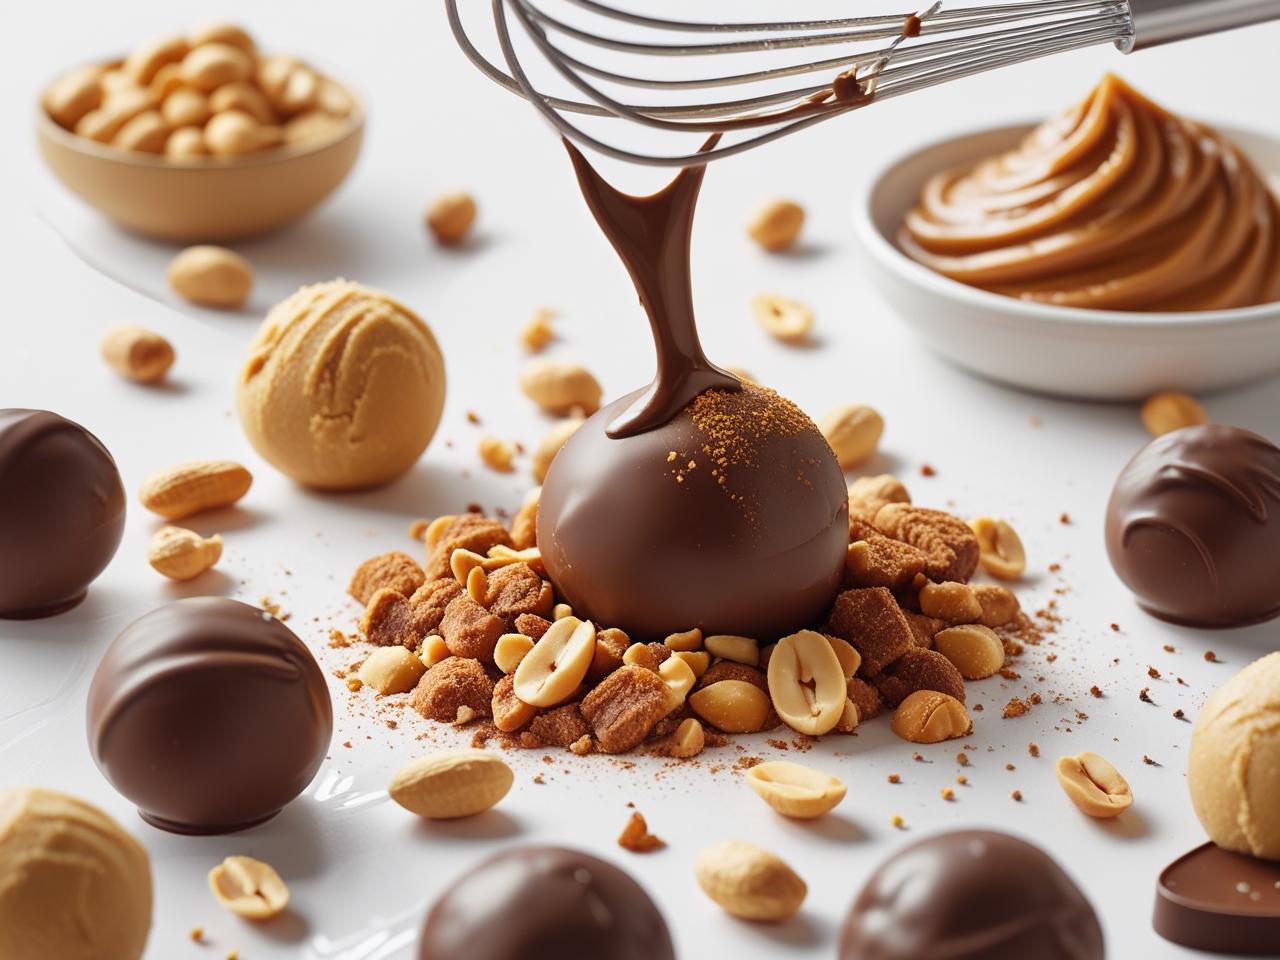
These Peanut Butter Balls are a beloved, no-bake classic for a reason. With a simple mix of ingredients, you can create a sweet, rich, and decadent dessert that tastes like a peanut butter cup in a bite-sized form. This recipe requires no baking and is perfect for a quick snack, a party platter, or a holiday treat. The key is to get the peanut butter dough firm enough to roll into balls, then coat them in a rich chocolate shell.
Why You’ll Love These Peanut Butter Balls
- No-Bake & Easy: Perfect for bakers of all skill levels, with no oven required.
- Rich and Flavorful: The combination of peanut butter and chocolate is a timeless, crowd-pleasing favorite.
- Make-Ahead Friendly: The peanut butter balls can be made in advance and chilled, ready to be dipped in chocolate.
- Perfectly Portion-Controlled: Each ball is a satisfying, single-serving treat.
- Customizable: Easily change the flavor by using dark, milk, or white chocolate for the coating.

Ingredients
For the Peanut Butter Filling:
- 1 ½ cups creamy peanut butter (processed brands like Skippy or Jif work best)
- ½ cup (113g) unsalted butter, softened
- 3 cups (360g) powdered sugar
- 1 teaspoon vanilla extract
- A pinch of salt (if using unsalted butter)
For the Chocolate Coating:
- 2 cups (340g) semi-sweet chocolate chips or melting wafers
- 1 tablespoon coconut oil or shortening
Equipment You’ll Need:
- Large bowl
- Hand mixer or stand mixer
- Spatula
- Baking sheet
- Parchment paper
- Microwave-safe bowl
Instructions
Part 1: Make the Peanut Butter Dough
- Cream Butter and Peanut Butter: In a large bowl, use a hand mixer or stand mixer to beat the softened butter and creamy peanut butter until the mixture is smooth and well-combined.
- Add Sugar: Add the powdered sugar and vanilla extract to the bowl. Mix on low speed until everything is incorporated and a thick, firm dough has formed. If the dough seems too sticky to handle, you can add a little more powdered sugar, a tablespoon at a time.
- Roll into Balls: Scoop out tablespoon-sized portions of the dough and roll them into smooth, compact balls with your hands. Place the balls on a parchment-lined baking sheet.
- Chill: Place the baking sheet with the peanut butter balls into the refrigerator for at least 30 minutes, or the freezer for 15-20 minutes, until they are firm. This is a crucial step for the balls to hold their shape when dipped in the chocolate.
Part 2: Coat the Balls in Chocolate
- Melt the Chocolate: In a microwave-safe bowl, combine the chocolate chips and coconut oil. Microwave in 30-second increments, stirring in between, until the chocolate is smooth and fully melted. The coconut oil helps to thin the chocolate, making it easier to dip and creating a glossy finish.
- Dip the Balls: Remove the chilled peanut butter balls from the refrigerator or freezer. Working one at a time, place a ball into the melted chocolate. Use a fork to turn it until it’s fully coated. Lift the ball out, allowing any excess chocolate to drip off.
- Set and Harden: Place the coated ball back on the parchment-lined baking sheet. Repeat with the remaining balls. Place the baking sheet back in the refrigerator for about 15-30 minutes, or until the chocolate coating has hardened.
Storage and Essential Tips for the Best Peanut Butter Balls
- Use Processed Peanut Butter: For the best results, use a processed, no-stir peanut butter (like Jif or Skippy). Natural peanut butter can be too oily and may not allow the dough to firm up properly.
- Chill, Chill, Chill: The colder the peanut butter balls are, the better they will hold up during the dipping process.
- Dipping Made Easy: If you don’t have a fork, you can use a toothpick to hold the ball while dipping. To get the cleanest finish, use a fork and place the coated ball on the parchment paper, then gently slide the fork out from underneath.
- Storage: Store the finished peanut butter balls in an airtight container in the refrigerator for up to 2 weeks.

Share Your Sweet Creation!
Did you make a batch of these classic peanut butter balls? We’d love to see them! Share your photos on Instagram and tag @FoodieIdeas and use the hashtag #PeanutButterBalls. What’s your favorite no-bake dessert?