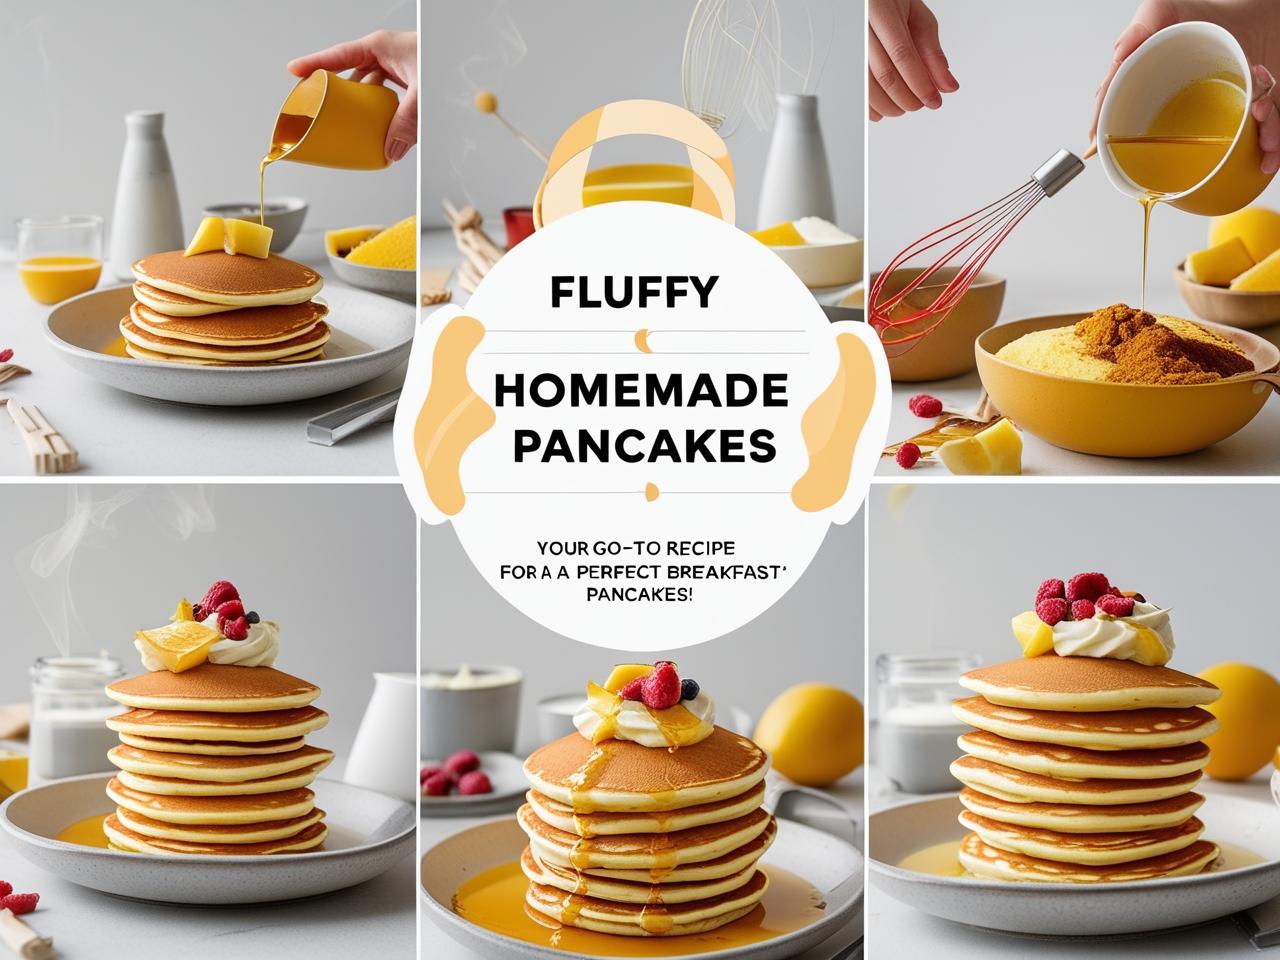
Your Go-To Recipe for a Perfect Breakfast!
Pancakes are a beloved classic breakfast staple, and achieving light, fluffy, and golden-brown pancakes is easier than you think. This recipe will guide you to create perfect pancakes every time, ready to be enjoyed with your favorite toppings like maple syrup, fresh fruits, or whipped cream!
Recipe: Fluffy Homemade Pancakes
Basic Info:
- Yields: 8-10 Medium Pancakes
- Prep Time: 10 minutes
- Rest Time: 5-10 minutes (optional, but recommended)
- Cook Time: 15-20 minutes
- Total Time: 25-40 minutes
Ingredients:
- All-Purpose Flour: 1 ½ cups (180g), spooned and leveled
- Granulated Sugar: 2 tablespoons
- Baking Powder: 1 tablespoon (fresh baking powder is key for fluffiness!)
- Salt: ½ teaspoon
- Large Egg: 1
- Milk: 1 ¼ cups (any type: whole, 2%, or non-dairy like almond milk)
- Unsalted Butter: 3 tablespoons, melted and slightly cooled, plus extra for cooking
- Vanilla Extract: 1 teaspoon (optional, but highly recommended for flavor)
- Optional Add-ins: ½ cup chocolate chips, blueberries, or sliced bananas
Equipment:
- Large mixing bowl
- Medium mixing bowl
- Whisk
- Rubber spatula or wooden spoon
- Measuring cups and spoons
- Non-stick griddle or large frying pan
- Ladle or ¼-cup measuring cup for scooping batter
- Thin spatula for flipping
- Wire rack (for keeping pancakes warm)
Step-by-Step Professional Making Process:
Step 1: Prepare Dry Ingredients
- Combine Dry: In a large mixing bowl, whisk together the all-purpose flour, granulated sugar, baking powder, and salt until well combined. Ensure there are no lumps, especially from the baking powder. Whisking also helps to aerate the ingredients, contributing to fluffier pancakes.
- Image Idea: A clean, well-lit overhead shot of a large mixing bowl with all the dry ingredients, mid-whisk, showing the powdery texture.
Step 2: Prepare Wet Ingredients
- Whisk Wet: In a separate medium bowl, whisk together the large egg, milk, and melted butter (which should be slightly cooled to avoid cooking the egg). If you’re using vanilla extract, add it at this stage.
- Image Idea: A shot of the wet ingredients in a bowl, with a whisk showing the slightly frothy mixture.
Step 3: Combine Wet and Dry (The Golden Rule!)
- Gentle Mixing: Pour the wet ingredients into the large bowl containing the dry ingredients.
- Mix Just Until Combined: Using a whisk or a rubber spatula, gently mix until the dry ingredients are just moistened. It’s perfectly fine if there are still a few lumps – do not overmix the batter! Overmixing develops gluten, which can result in tough, chewy pancakes. A few lumps actually contribute to fluffiness.
- Optional Rest: Let the batter rest on the counter for 5-10 minutes. This allows the baking powder to fully react and the flour to hydrate, leading to even fluffier pancakes.
- Image Idea: A close-up shot of the pancake batter in the bowl, showing its slightly lumpy but combined texture.
Step 4: Cook the Pancakes
- Heat Skillet: Heat a non-stick griddle or large frying pan over medium heat. Once the pan is hot, lightly brush it with a little extra butter or oil (or grease with a paper towel). You should hear a slight sizzle when the butter touches the hot pan.
- Test Heat: Test the pan’s temperature by dropping a tiny bit of batter onto it. If it browns too quickly or burns, reduce the heat. If it takes too long to cook, increase the heat slightly.
- Pour Batter: Ladle or scoop approximately ¼ cup of batter for each pancake onto the hot pan. The batter will naturally spread into a round shape.
- Add Mix-ins (Optional): If you’re adding chocolate chips or berries, sprinkle them onto the batter in the pan immediately after pouring. This helps them distribute evenly and prevents them from sinking to the bottom.
- Watch for Bubbles: Let the pancakes cook for 1-2 minutes. When you see bubbles forming on the surface and the edges begin to look dry and set, they’re ready to flip.
- Flip & Cook: Using a thin spatula, carefully flip the pancakes. Cook the second side for another 1-2 minutes, or until golden brown and fully cooked through. The second side usually takes less time to cook than the first.
- Keep Warm: To keep cooked pancakes warm while you finish the rest, place them on a wire rack in a single layer and loosely cover them with foil in a preheated oven at 200°F (90°C).
- Image Idea 1: A pancake on the griddle with bubbles forming on its surface, indicating it’s ready to flip.
- Image Idea 2: A beautiful, golden-brown pancake being flipped mid-air with a spatula.
- Image Idea 3: Several perfectly cooked, golden-brown pancakes stacked neatly on a wire rack, with some steam subtly rising.
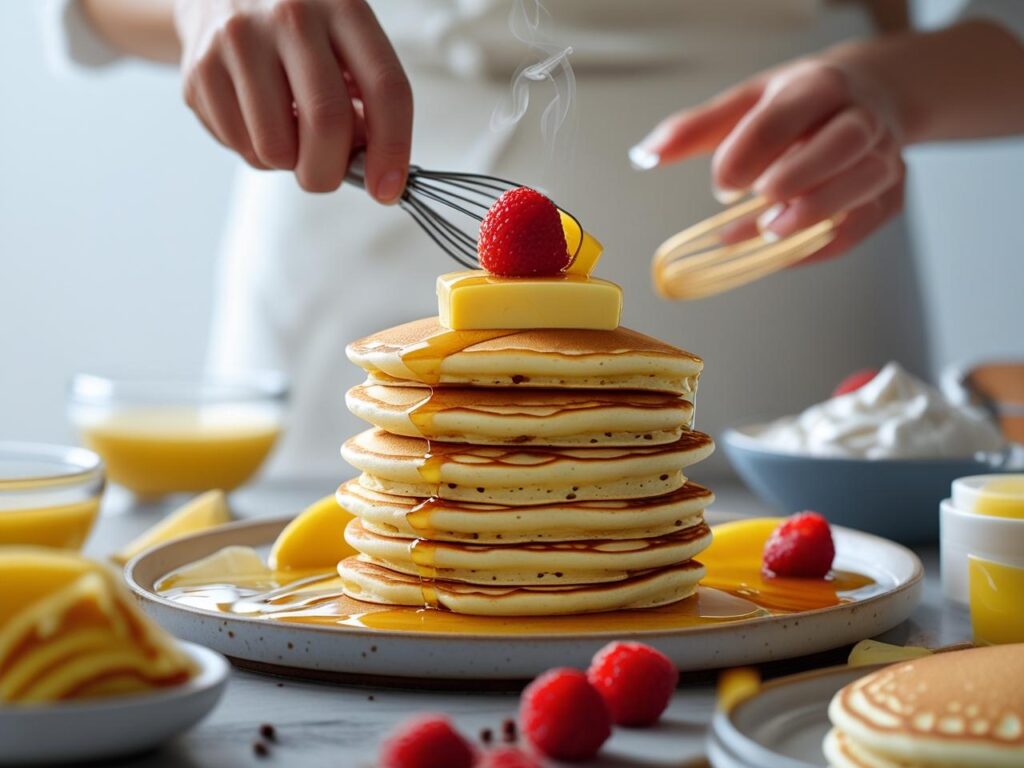
Step 5: Serve Hot!
- Stack & Serve: Arrange the pancakes in a stack and serve them immediately with your favorite toppings.
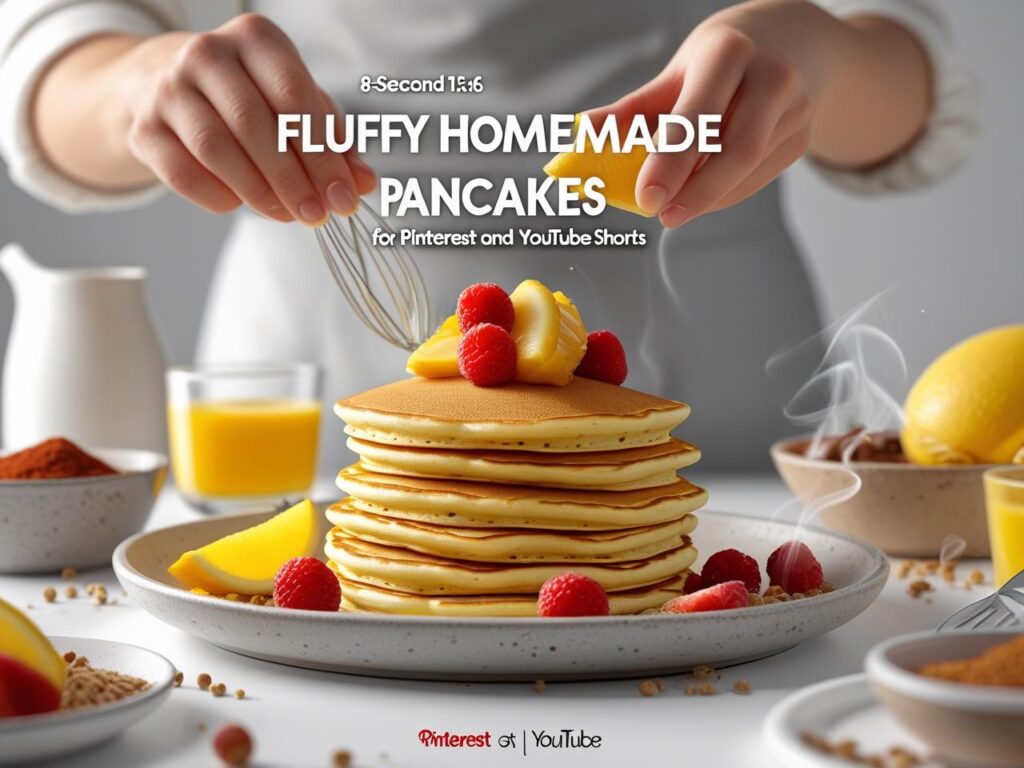
- Image Idea: A visually appealing stack of fluffy pancakes on a plate, generously drizzled with maple syrup and adorned with fresh berries (or other desired toppings). This should be your hero shot!
Professional Tips for Pancake Perfection:
- Fresh Baking Powder: Always check the freshness of your baking powder. If it’s old, your pancakes will turn out flat.
- Don’t Overmix: This is the most crucial rule! A few lumps in the batter are perfectly fine. Overmixing develops gluten, making pancakes tough.
- Rest the Batter: If time permits, let the batter rest for 5-10 minutes. This allows the leavening agents to activate properly, resulting in even fluffier pancakes.
- Right Pan Temperature: Correct pan temperature is vital. If too hot, pancakes will burn outside and be raw inside. If too cold, they’ll absorb oil and become greasy. Medium heat is ideal.
- One Flip Only: Try to flip pancakes only once. Flipping them repeatedly can flatten them.
- Don’t Press: Avoid pressing down on pancakes with your spatula after flipping. This deflates them and removes their fluffiness.
- Measure Flour Correctly: Use the “spoon-and-level” method to measure flour (spoon flour into the measuring cup and then level it off with a knife). Scooping directly from the bag can result in too much flour, leading to dry pancakes.