Do you ever crave fresh, delicious sushi but hesitate because of the cost or the seemingly complex process? You’re not alone! Many of us think of sushi as a gourmet treat best left to expert chefs. But what if we told you that creating beautiful, mouth-watering sushi rolls in your own kitchen is not just possible, but incredibly easy and fun? Forget the expensive takeout and the long wait times—your journey to becoming a home sushi making pro starts right here.
This guide is all about simplifying the art of sushi making with an “All in 1 DIY Sushi Making Kit.” We’ll explore how these kits transform a five-year Japanese chef apprenticeship into a matter of seconds for you, enabling anyone to make perfect, Instagram-worthy sushi rolls that delight both the eyes and the taste buds. Get ready to roll!

Why an All-in-1 DIY Sushi Making Kit is Your Best Friend
Thinking about diving into sushi making at home? A complete DIY kit is a game-changer, especially for beginners. It takes away the guesswork and frustration, making the entire experience enjoyable.
- Convenience: Everything you need is neatly packed in one place – no more hunting for individual tools.
- Ease of Use: These kits are designed with simplicity in mind. Tools like rolling mats and molds guide you through the process effortlessly.
- Cost-Effective: Making sushi at home is significantly cheaper than dining out or ordering takeout. Your kit pays for itself in just a few uses!
- Fun Activity: It’s a fantastic way to spend quality time with family or friends, turning meal prep into a lively, interactive event. Imagine a sushi-themed date night!
- Freshness Control: You pick the freshest ingredients, ensuring your sushi is exactly how you like it, free from preservatives or unwanted additives.
What’s Typically Inside Your Sushi Making Kit?
While contents can vary slightly, most “All in 1 DIY Sushi Making Kits” include essential tools to kickstart your sushi making adventure:
| Tool | Purpose | Benefit for You |
|---|---|---|
| Bamboo Rolling Mat | For tightly rolling sushi rolls (maki). | Ensures perfectly cylindrical, compact rolls. |
| Rice Paddle | Scooping and spreading sushi rice without crushing. | Keeps rice fluffy and intact. |
| Rice Spreader | Evenly spreading rice on nori sheets. | Prevents tearing nori; creates consistent layers. |
| Sushi Molds | For shaping nigiri or specific roll types. | Ideal for beginners for uniform sushi. |
| Chopsticks | For serving and eating. | Completes the authentic sushi experience. |
| Sushi Knife | A specialized knife for clean cuts (sometimes incl.) | Ensures neat, professional-looking slices. |
Export to Sheets
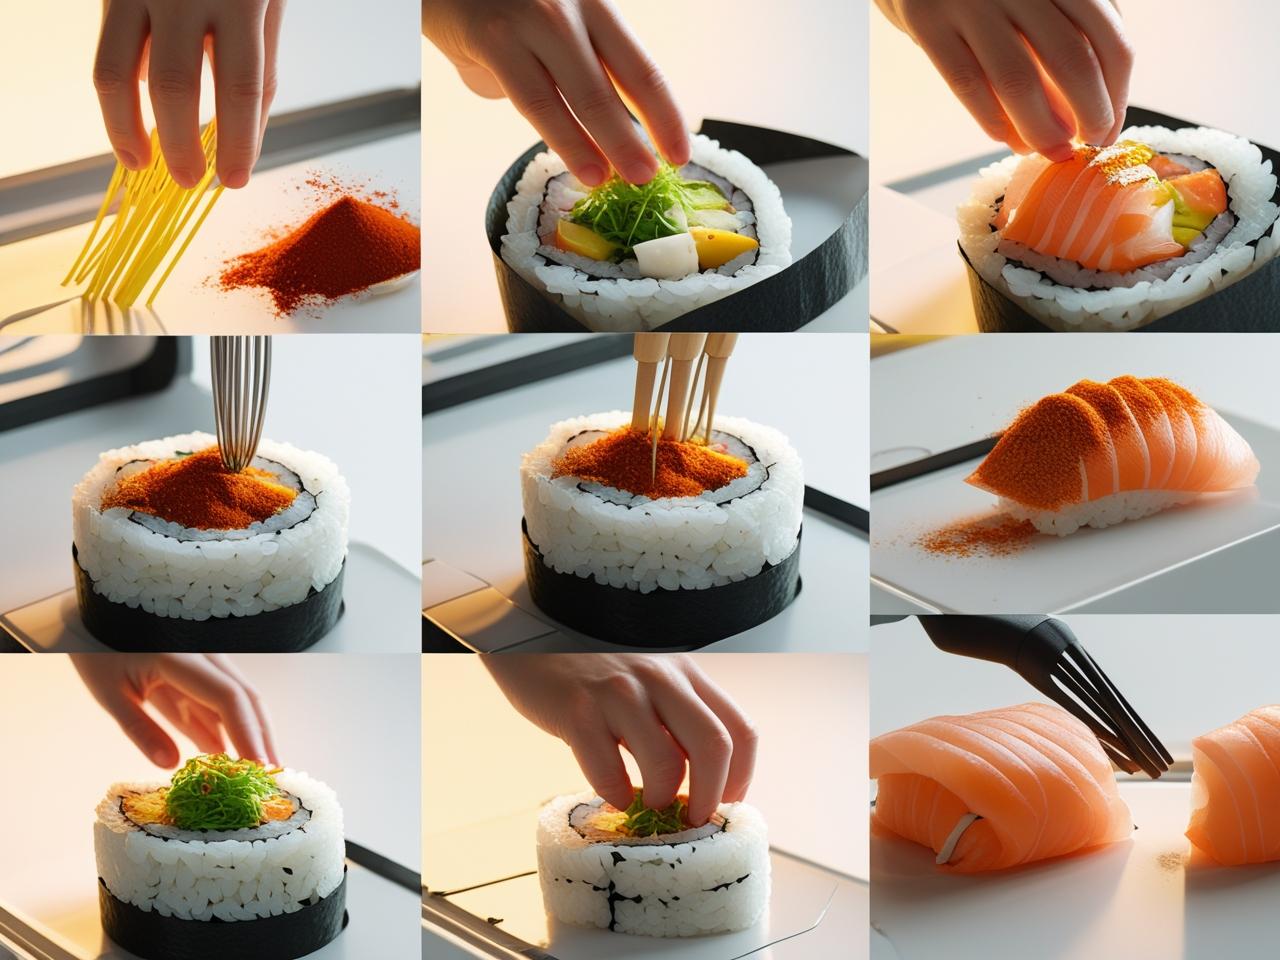
Step-by-Step Sushi Making with Your Kit
Ready to roll? Here’s a simplified guide to sushi making using your DIY kit. You’ll be amazed at how quickly you pick it up!
- Prepare the Rice: This is arguably the most crucial step. Use short-grain sushi rice. Rinse it thoroughly until the water runs clear. Cook it according to package directions, then season it with a mixture of rice vinegar, sugar, and salt while it’s still warm. Let it cool to room temperature.
- Expert Tip: Don’t over-stir the rice when seasoning; you want to maintain its sticky texture.
- Gather Your Fillings: Choose your favorite fillings! Common choices include fresh salmon or tuna (sushi-grade, please!), cucumber sticks, avocado slices, crab sticks, bell peppers, or even cooked chicken for non-seafood options. Slice everything thinly and uniformly.
- Lay the Nori: Place a sheet of nori (seaweed) shiny-side down on your bamboo rolling mat.
- Spread the Rice: Using your rice paddle or spreader (and slightly damp hands to prevent sticking), evenly spread a thin layer of sushi rice over about 2/3rds of the nori, leaving the top edge bare.
- Add Fillings: Arrange your chosen fillings in a line across the center of the rice. Don’t overfill!
- Roll it Up: This is where the magic happens! Using the bamboo mat, lift the edge closest to you, bringing it over the fillings and tucking it tightly. Roll forward, applying gentle, even pressure, until you reach the bare edge of the nori. A little water on that bare edge will help seal the roll.
- Slice and Serve: With a sharp, damp knife (a sushi knife, if your kit includes one), slice the roll into 6-8 pieces. Clean the knife between cuts for neat slices. Arrange beautifully and serve with soy sauce, wasabi, and pickled ginger!
Tips for Perfect Homemade Sushi
Even with a kit, a few pro tips can elevate your sushi making game:
- Don’t Over-Season the Rice: The rice should have a subtle tang, not be overpoweringly sweet or sour.
- Dampen Your Hands: Keep a small bowl of water handy to slightly dampen your hands and knife. This prevents rice from sticking.
- Don’t Overstuff: Less is more with sushi fillings. Overstuffing makes it difficult to roll neatly.
- Roll Tightly: A firm, even roll ensures your sushi holds together when sliced and eaten.
- Sharp, Damp Knife: For clean cuts, use a very sharp knife and wipe it with a damp cloth between each slice. This prevents sticking and tearing.
- Practice Makes Perfect: Your first roll might not be magazine-perfect, but each subsequent one will get better!
FAQs About DIY Sushi Making
- How does an “All in 1 DIY Sushi Making Kit” work? It provides all the basic tools like bamboo mats, rice paddles, and molds, along with instructions, to guide you through the process of making sushi rolls at home easily.
- Is sushi making difficult for beginners? Not with a DIY kit! These kits simplify the rolling and shaping steps, making it very accessible even if you’ve never made sushi before.
- What kind of rice should I use for sushi making? Always use short-grain “sushi rice” (sometimes labeled “Japonica rice”). Its stickiness is crucial for sushi.
- Is making sushi at home safe? Yes, if you use high-quality, fresh ingredients, especially sushi-grade fish if you’re including raw seafood. Always practice good kitchen hygiene.
- Can I make vegetarian or vegan sushi with these kits? Absolutely! Sushi is incredibly versatile. You can fill your rolls with a wide variety of vegetables like cucumber, avocado, carrots, bell peppers, and even tofu.
- How long does homemade sushi last? Sushi is best enjoyed fresh, ideally on the same day it’s made. It can be refrigerated for up to 1 day, but the rice texture may change.